HealthCraft SuperPole™ & Vaulted Ceiling SOP & Certification
Clinical guidelines, interactive 18-checkpoint digital SOP checklist, real-time 360° Pivot & Lock simulator, downloadable checklist (v2.0), and 100% threshold technician certification.
HealthCraft SuperPole with SuperBar™: 5-Step Field Installation Guide
Source: HealthCraft SuperPole & uPole Installation Checklist.docx • Ottawa, ON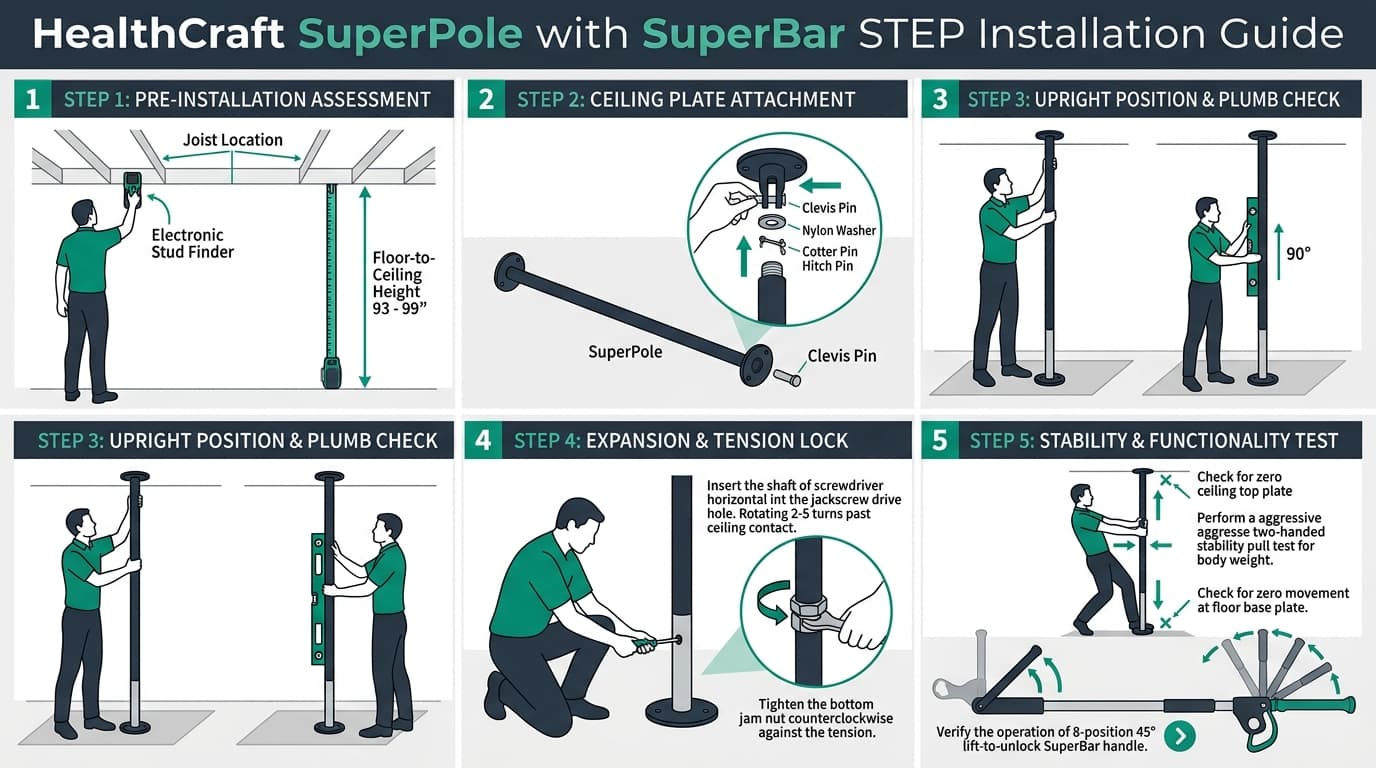
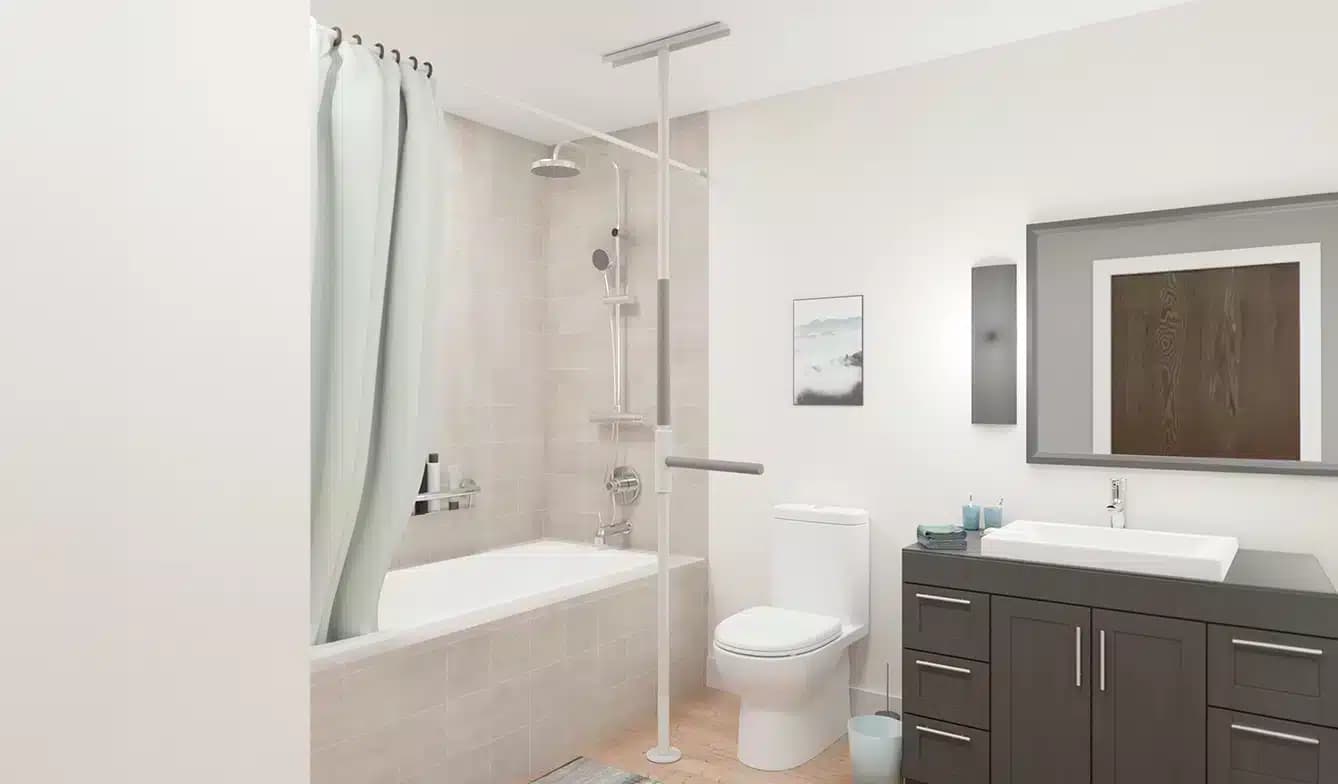

- Surface Verification: Floor and ceiling must both be structurally solid. Do NOT install over loose rugs, radiant ceiling heat, mobile homes, or under suspended/drop ceilings.
- Joist Scanning: Locate ceiling joists using an electronic or magnetic stud finder. Mark joist edges in pencil so the anchor plate is centered.
- Span Strategy: Whenever possible, position standard 20" ceiling anchor plate to span across two joists. If only 1 joist is available, note this for rigorous stability testing in Step 5 and driving optional ceiling screws.
- Wide Spacing / Heavy Use: If joists are 24" on-center, plan to use the 30" Ceiling Plate Extender™.
- Measure Height: Measure exact floor-to-ceiling height (standard 93"–99"; with Uni-Fit Extender™ 100"–120"). For SuperTrapeze™, mark 84" wall reference.
- Horizontal Setup: Assemble pole and ceiling plate on a flat, horizontal surface (clean floor) before standing it up.
- Clevis Attachment: Align receptacle holes on top plate with pole through-hole. Insert clevis pin all the way through, slide nylon washer onto opposite side, and insert cotter hitch pin through clevis hole to lock.
- Extension Fit: If installing an extension for tall ceilings, insert joiner end into pole bottom and tap in with a hammer using scrap wood to protect threads until there is zero visible gap at shoulder.
- Jackscrew Pre-Set: Back off jam nut downward so extension screw rotates freely. Thread jackscrew so distance from plate top to bottom of screw is approx. 2 inches less than recorded ceiling height.
- Base Positioning: Place rubber base plate on floor exactly at marked, joist-verified location.
- Pivoting Upright: Tilt pole, insert bottom stem into base plate hole, and pivot upright beneath joist.
- Plumb Verification: Hold pole strictly vertical (90° plumb) in both lateral and sagittal planes using a 4-ft level or plumb bob. (A second installer is recommended to hold steady).
- Flush Contact Check: Ensure ceiling plate sits flat and square across joist without tilt or edge daylight gap before applying tension.
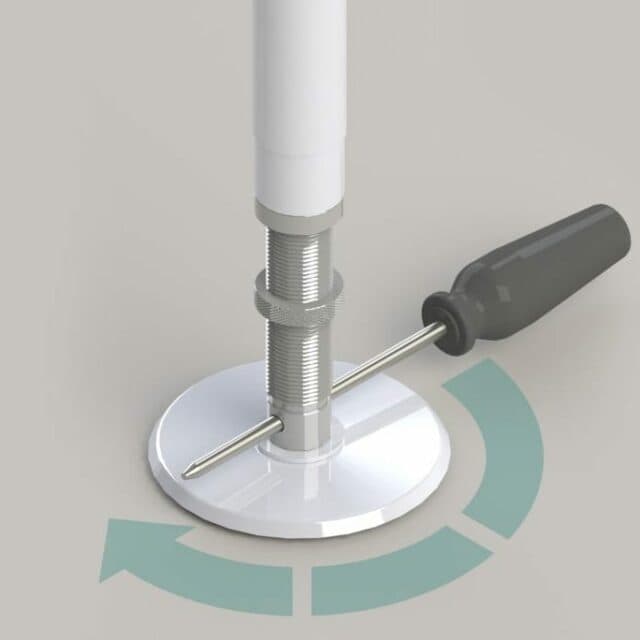
- Insert Turning Bar: Insert screwdriver shaft horizontally through the drive hole at base of jackscrew.
- Turn Clockwise: Rotate clockwise while holding pole plumb until ceiling plate contacts ceiling joist squarely.
- 2–5 Turns Past Contact: Continue turning 2 to 5 additional full turns past first contact until firmly secure. (Do not over-tighten or cause ceiling popping/cracking).
- Lock Jam Nut: With screwdriver in place, spin jam nut upward (counterclockwise viewed from below) until touching bottom of pole.
- Jam It Tight: Turn jam nut and jackscrew together counterclockwise simultaneously until they bind tightly against each other, permanently locking tension against vibration and settling. Slide cover sleeve down over assembly.
- Aggressive Pull Test: Grip pole at mid-height with both hands. Aggressively push and pull side-to-side and front-to-back with full technician body weight and momentum.
- Zero Movement Rule: Watch base and ceiling plates. If any movement or sliding is detected, add 1 full turn to jackscrew and re-test until zero movement is achieved.
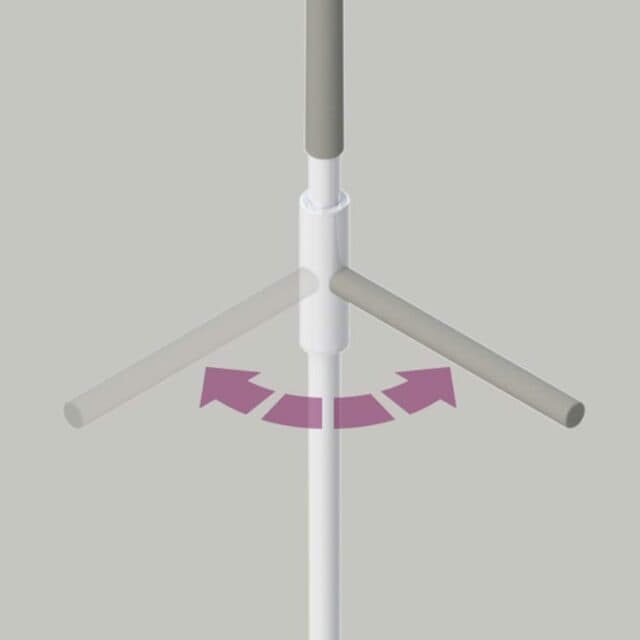
- SuperBar Set Screws: Position SuperBar collar at client elbow/mid-chest height (24"-38" from floor). Tighten all 3 set screws until flush with collar body (protruding set screws cause injury).
- Test 360°/45° Lock: Test lift-to-unlock using light 2-finger pressure. Confirm positive automatic locking at all eight 45° increments.
- Settling Routine: Re-test after first few hours, after 2-3 days, and establish a monthly recheck routine.
1. Biomechanics: 5–30% Lateral Force Rule
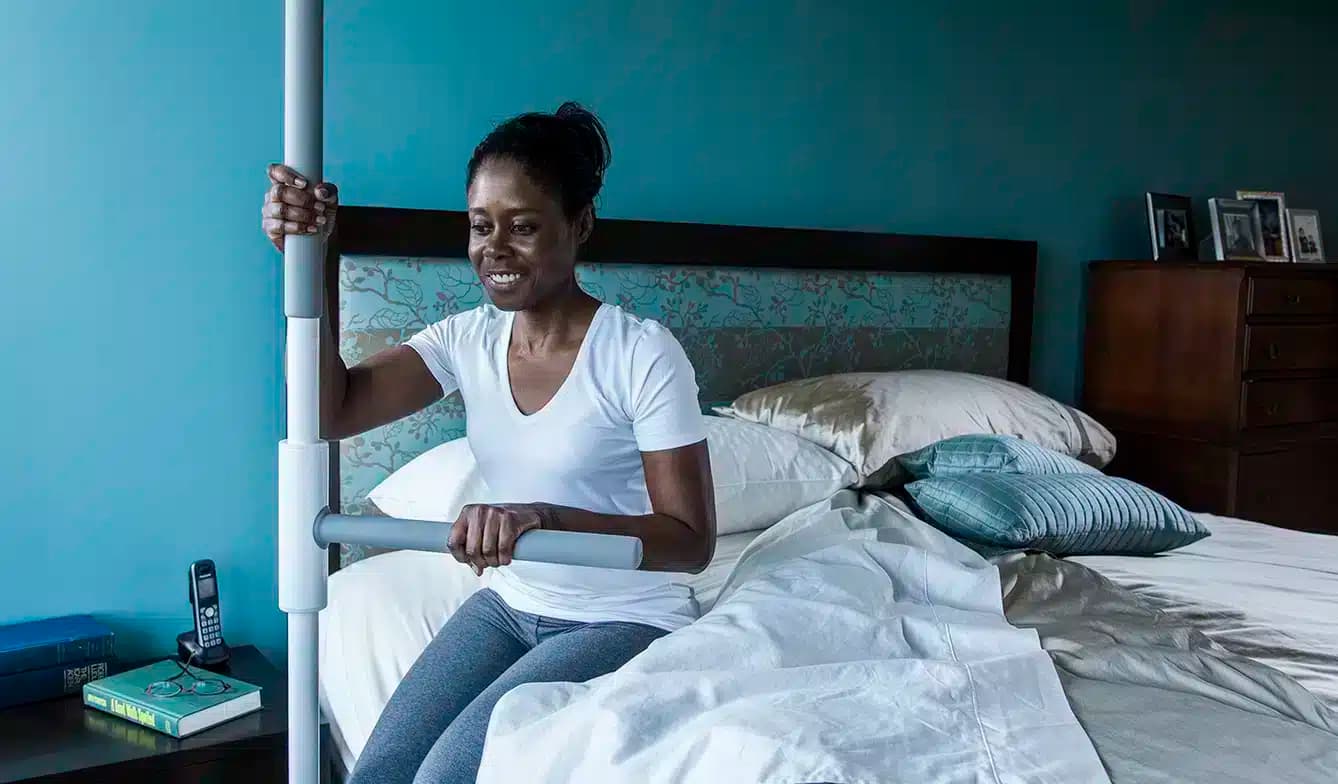
HealthCraft clinical research confirms that during a sit-to-stand motion, a client exerts a lateral pulling force of only 5% to 30% of their actual body weight. The SuperPole is engineered to support client pulling dynamics while the floor-to-ceiling column bears vertical compression. For aggressive pulling or single-joist mounting, optional ceiling screws provide secondary mechanical security.
2. Weight Capacities: Standard vs HD Bariatric
3. Infection Control & Sanitation Coating
Factory-applied antimicrobial powder coat inhibits MRSA and pathogen colonization. Fully compatible with Accelerated Hydrogen Peroxide and quaternary ammonium disinfectant wipes without degrading the white gloss finish.